

How We Do It
When you arrive for your capture session, we will have already aligned the camera with the tripod as we described in the Mysteries section. You'll find one of the three monitors all set up for your viewing use. This is a calibrated color-critical monitor which is a duplicate of my main production monitor. You can watch everything I do as I get the gear ready for the capture, and then follow it into Photoshop.
You might ask, "Why are you letting me see what you do? Aren't you afraid I'll just do it myself?" Good question! However, just the opposite is true. The day you come to a session and say, "Michael, I've learned enough from you and now what I'd like is to just have you give me the image files, and I'll do the Photoshop work."
Fine by me. You'll save some money and I'll have less work to do. Are you beginning to get the idea that this is not only about business, but also about education? I hope so. And there's no extra charge for the mentoring. Your success, is my success.
Following are the steps involved with the capture:
1. Mount your canvas on the easel:
We do this with just enough pressure on the top and bottom edges to keep the canvas positioned. The padded easel shelves ensure firm, but tender handling. Let me know beforehand if the media is not yet fully dry and we'll be extra careful.
We carefully center your canvas, both vertically and horizontally. Lighting is adjusted accordingly. We use color-accurate LED lighting and double diffusing panels which provide extremely soft light that is gentle, and does not cause glare.
2. Camera Settings:
You'll watch on your secondary monitor as I adjust the camera settings to perfectly capture your art. I use tethering with a USB cable attached to the camera and computer. You will be looking through the camera lens, on the monitor. You'll watch as I zoom the lens to just over the canvas height and width. We'll crop that later in Photoshop but we want to ensure we don't miss anything.
3. Capture the Image
Once the camera is set, a test-capture is made of the canvas with a precise color panel for later color-correction. Then, for the production capture, we use a feature called Pixel-Shifting. This uses the sensor on the camera to take four separate images, one pixel row or column apart, (top, right, bottom, left). In software we combine the images to create a brilliantly saturated high resolution image. Then we open this "production" image in Photoshop.4. Photoshop
We crop the 300dpi production image to its actual size, and then open the test image. We copy the color panel from the test image and paste it into the production image, on a new layer. A Curves Adjustment Layer and the color panel combine to color-correct the production image. The color panel layer is hidden, and the fun begins!
You'll watch on my second color-critical monitor as I apply one or several Photoshop Adjustment Layers. These layers shape exposure, contrast, hue, saturation, and a host of other enhancements. We'll chat, as I apply various adjustments, and you watch the results of each one.
It's your artistic sensibilities that I cannot reproduce. I have to get that from you. So, together, we'll shape the image until it Pops! You'll see that the difference is very tender to the original. However, when you consider the light issue, making it Pop makes perfect sense. The entire process only takes about one-half hour to forty-five minutes.
The color corrected and adjusted image is the base-level deliverable. You'll receive the following three files:
1 — Full Resolution Tiff File. Largest size but absolutely accurate copy of the original Photoshop file.
1 — Full Resolution Jpg File. A bit smaller in size but is fine for prints. Print houses usually prefer this format. Remember, large-format printers print at around 200dpi. We're at 300dpi.
1 — Web Resolution Jpg File. Much smaller but at 120dpi, at the top-end of Web graphics. Your Web developer will love these.
Bring a flash drive and you can take the files with you.
Our services and pricing beyond this are fairly a la carte. You may not need anything but the basic package. However, if you do we've got you covered.
Basic Package: $65
Non-Printable Canvas
Equal Crop to Print Size: $9
Un-Equal Crop to Print Size: $12
Gallery Wrap: $16
Additional Size:
Same Aspect Ratio, (3 add'l files): $9
New Aspect Ratio, (3 add'l files): $18
Additional Editing, per quote
Multi-Canvas Discount:
(Call for details.)
2 - 4: 5%
6 - 10: 8%
11+ 10%
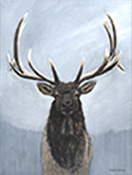
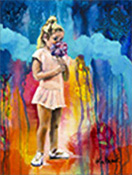
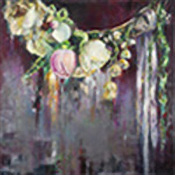
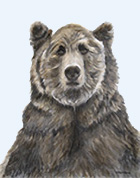
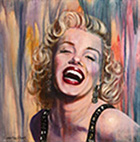
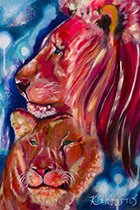
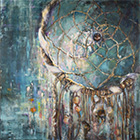
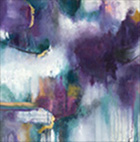
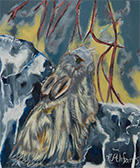
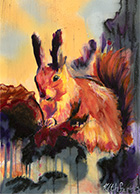
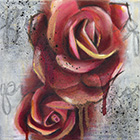
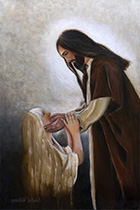
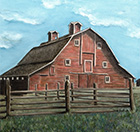
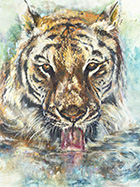
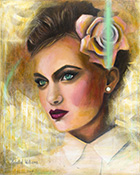
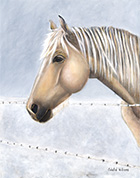
Note: Many thanks to the artists whose works we've been privilaged to photograph over the years, some of whose works are displayed on this site as thumbnails. These artists are: Celestial Williams, Jodee Huish, Ruth Farris, Casy Wakefield, Donna Morris, and Mary Kabanuk. Copyrights to these thumbnails belong to the respective artists.